When people have to guess which button to press on an intercom, they get frustrated fast. A clear touch screen turns that guesswork into simple, visual choices.
A touch screen is a display that also works as an input device, sensing where you touch and turning that contact into commands, swipes, and gestures on the device.

In an intercom or indoor station, the touch screen replaces rows of physical keys with a flexible interface. You can change icons, languages, and workflows with firmware, not with a screwdriver. This is why modern SIP doorphones and indoor monitors are moving to projected capacitive (PCAP) touch 2 as standard.
How does a touch screen improve intercom usability?
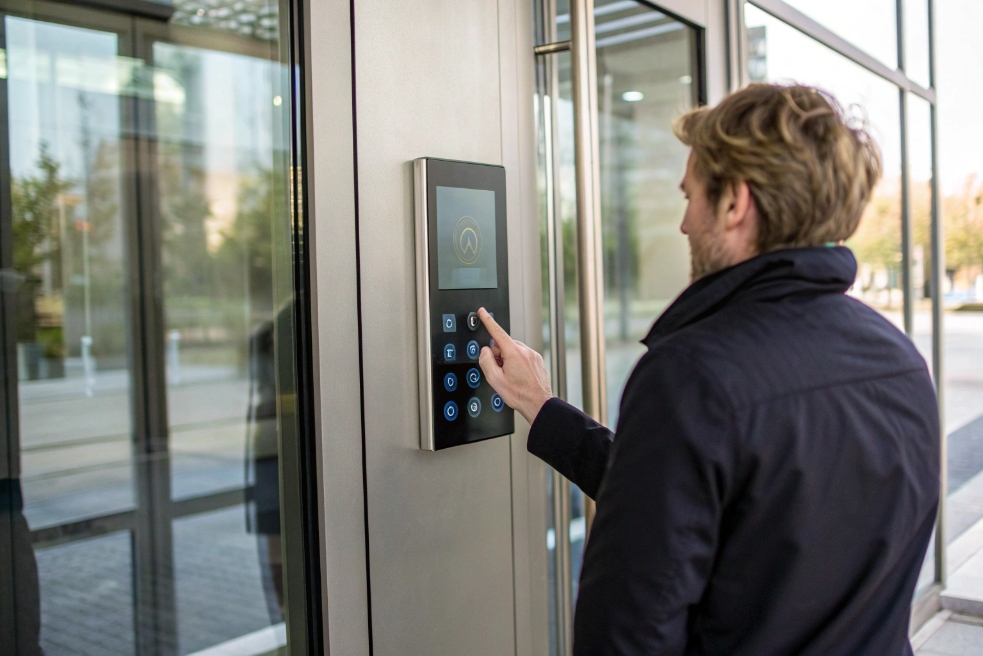
When a visitor stands at the door, you only have a few seconds. If the screen is confusing, they press the wrong thing, give up, or start calling someone’s mobile.
A touch screen improves intercom usability by turning complex call flows into simple visual buttons, using icons, language prompts, and gestures so visitors and residents can operate the system without training.
On a classic audio intercom, you have a keypad, maybe some cryptic labels, and a tiny display. Any change in tenants or room numbers needs manual relabeling. A touch screen changes this:
- You present clear icons for Call Guard, Call Apartment, Open Gate, Directory, Help.
- You support multiple languages with one tap.
- You show status feedback: “Calling 302…”, “Door unlocked”, “No answer, forwarding”.
This lowers stress for visitors and for staff. People follow what they see on screen, not what they remember from training.
A simple comparison:
| Feature | Physical buttons only | Touch screen intercom |
|---|---|---|
| Directory updates | Labels, stickers, reprinting | Software list, synced from backend |
| Multi-language support | Very limited, maybe voice prompt only | Full UI language switch, per user or per site |
| Accessibility | Harder for icons and big text | Large buttons, high contrast themes |
| Workflow complexity | Simple only | Branching flows, PIN entry, QR, video preview |
| Remote management | On-site changes | Remote via web, API, or provisioning |
Gestures and responsiveness matter
Good PCAP touch panels feel familiar, like a smartphone:
- Tap to call, swipe to scroll the directory, long-press for emergency actions.
- The OS and firmware handle those gestures and map them to intercom features.
- A decent sampling rate and low touch latency make the screen feel “instant”.
If the screen is slow or misreads touches, users will tap twice, back out of menus, or think the device is broken. On intercoms, reliability is more important than fancy animation. So a stable 60 Hz touch sample with simple UI is usually better than ultra-high refresh plus heavy effects.
Visual context in security workflows
Video intercoms with touch screens also show:
- Live video of the visitor before you press “Open”.
- Snapshot previews when someone rings while you are away.
- Zone or camera selection if you integrate with NVRs and extra IP cameras.
In one building rollout, switching from a small button-panel to a 7-inch touch indoor station cut “wrong door” complaints to almost zero, simply because residents could see which entrance they were opening and confirm before they tapped.
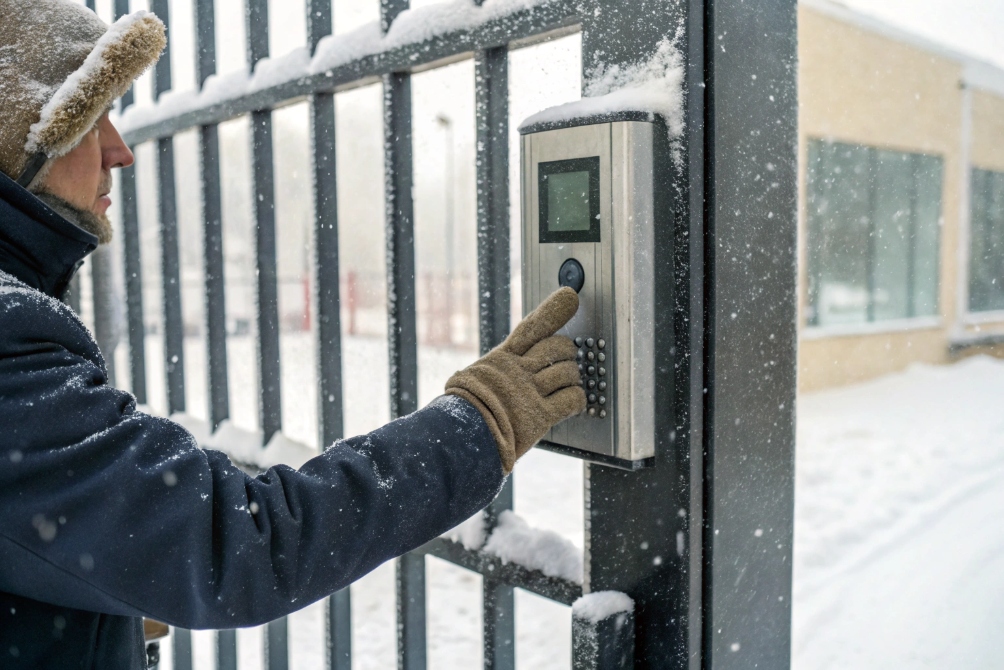
Is a capacitive touch screen better for gloves?
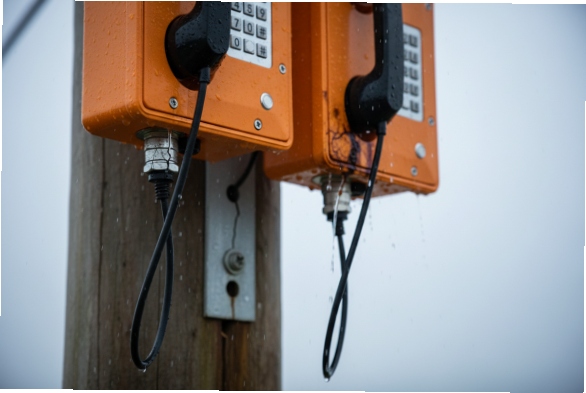
Many intercoms sit at gates, loading docks, or factory doors. People wear gloves. If the screen does not respond, they start hitting the housing or pressing random spots.
Capacitive touch screens feel better and support multi-touch, but for heavy gloves and harsh outdoor use you may still want either glove mode, special capacitive gloves, or a resistive/physical backup path.
Capacitive vs resistive vs “glove mode”
For intercoms and indoor stations, you mostly see two technologies:
| Technology | How it works | Gloves support | Typical use |
|---|---|---|---|
| Resistive | Pressure joins two conductive layers | Any glove or stylus | Old panels, harsh industrial |
| Projected capacitive (PCAP) | Senses changes in electrostatic field | Bare finger, thin gloves by default | Phones, tablets, modern intercoms |
| PCAP with glove mode | PCAP with boosted sensitivity and tuning | Thicker gloves, still limited | Cold climates, light industry |
PCAP is now standard because it is:
- Very accurate
- Supports smooth gestures
- Durable with tempered cover glass
- Easy to seal for IP-rated enclosures
But a normal PCAP sensor expects a bare finger or a thin, capacitive glove. Thick leather or insulated work gloves can look like “nothing” to the controller.
When gloves change your design
On outdoor SIP door phones and gate stations you can combine several ideas:
- Enable glove mode in firmware when the controller supports it. The sensor becomes more sensitive and tries to read touches through thicker material.
- Keep UI elements large. Big buttons are easier to hit with gloves and reduce the impact of less precise input.
- Offer fallback methods: physical Call button, keypad, or RFID/QR reader. So even if touch fails, the system is still usable.
Watch out for side effects. Higher sensitivity can also:
- Make the panel more vulnerable to false touches from water drops or electrical noise.
- Use more power.
- Reduce accuracy around edges.
For indoor stations in apartments or offices, gloves are rare. There PCAP without glove mode is fine and gives the best balance of speed, clarity, and durability.
If you know most users wear heavy gloves every day (mining, warehouses, oil and gas), then:
- Either choose a resistive industrial panel with a simple UI.
- Or combine a smaller PCAP display with physical keys for the critical actions like Call and Door Open.
This way nobody is locked out just because their gloves are warm.
What screen sizes suit indoor stations?
Too small and people squint at icons. Too big and the panel dominates the wall and costs more than the rest of the intercom system.
For modern SIP indoor stations, 7-inch touch screens hit a sweet spot for apartments and offices, while 4–5-inch panels suit compact units and 10-inch+ displays fit lobbies and control rooms.
Matching screen size to the room and user
You do not pick screen size only by resolution. You match it to the distance, the tasks, and the wall space:
| Size range | Typical role | Pros | Cons |
|---|---|---|---|
| 4–5 inches | Compact indoor station, hotel room | Small, cheap, easy to place | Limited layout, smaller text |
| 7 inches | Standard apartment/office indoor monitor | Good balance of size, cost, usability | Needs decent wall area |
| 10–12 inches | Reception, guard desk, control room | More tiles, camera views, dashboards | Higher cost, needs careful mounting |
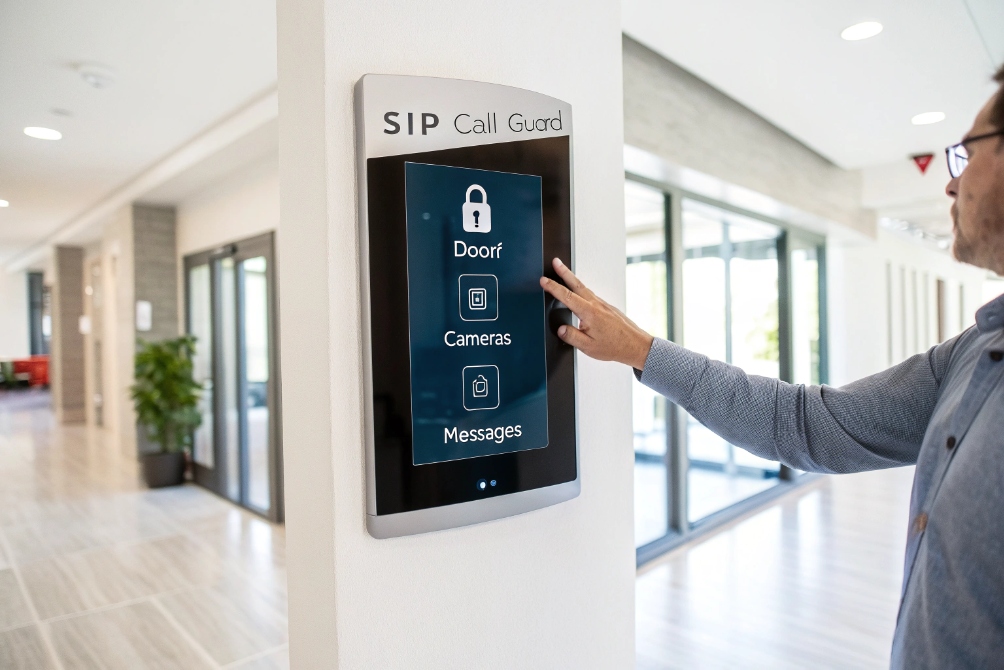
A 7-inch PCAP panel lets you:
- Show a clear video preview plus large buttons.
- Fit a simple home screen with Call Guard, Door, Cameras, Messages.
- Keep text large enough for older residents without redesigning the UI.
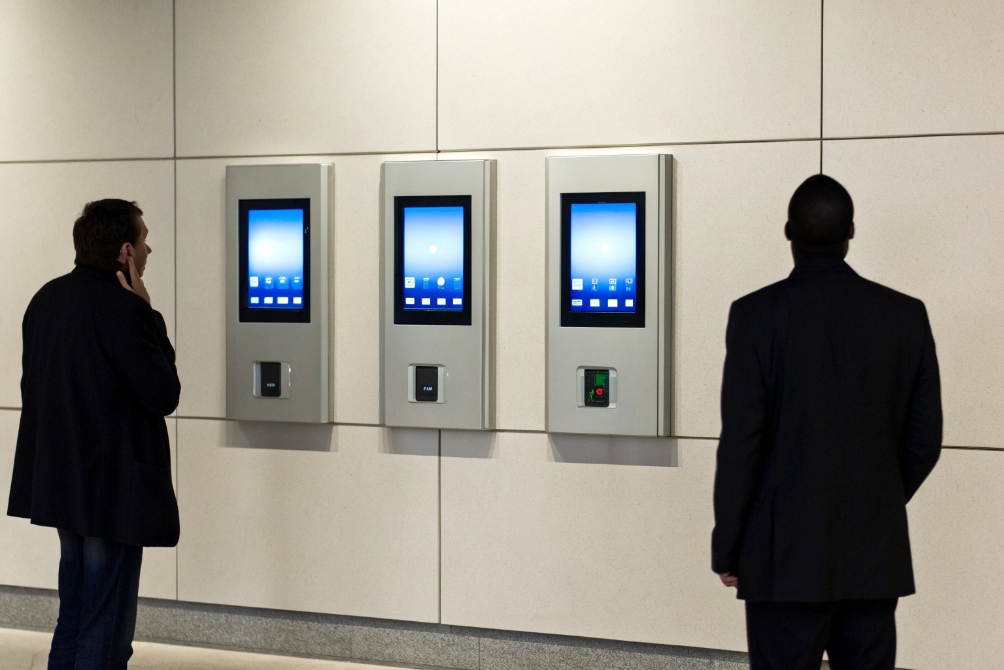
For reception desks or security rooms, a 10-inch or larger panel can:
- Show multiple camera tiles at once.
- Display access logs or alarms next to the live video.
- Run more advanced apps, like VMS clients or building dashboards.
Resolution, brightness, and mounting
Size is just one part. For indoor stations you also care about:
- Resolution: 1024×600 or 1280×720 is usually enough for 7-inch; you do not need 4K.
- Brightness: indoor units do well at 250–400 nits; for bright lobbies or near windows, higher helps.
- Optical bonding: bonding the cover glass to the display reduces reflections and improves contrast, especially under strong light.
- Viewing angle: wide angles help in corridors where you look from the side.
Mounting height and location also matter:
- Place screens roughly at eye level for the typical user group.
- Avoid direct sunlight, which can heat the device and wash out the image.
- Keep enough wall space around to route cables and mount back boxes cleanly.
When planning a building, it is often easier to standardize on one or two screen sizes. For example:
- 7-inch indoor stations for all apartments and offices.
- 10-inch or larger touch panels for reception and security staff.
This simplifies spares, templates, and user training.
How do I clean and protect touch screens on-site?
In real buildings, screens do not live in a catalog photo. They live next to elevators, in parking entrances, and by busy lobby doors where people touch them all day with dusty or wet hands.
Clean touch screens with a soft cloth and mild, non-abrasive cleaner, avoid harsh chemicals, and combine good cleaning habits with protective glass, housings, and correct IP/vandal ratings for the site.
Safe cleaning practices for long life
Most modern touch screens use:
- Tempered cover glass
- An oleophobic coating to reduce fingerprints
- A PCAP sensor behind the glass
Harsh chemicals can strip the coating or cloud the glass. A safe routine looks like this:
- Use a microfiber cloth slightly damp with water or a mild screen-safe cleaner.
- Wipe gently in straight lines. Do not scrub with paper towels or rough fabric.
- Spray the cloth, not the screen, so liquid does not run into gaps.
- Avoid bleach, strong alcohol mixes, ammonia, and abrasive powders.
In high-traffic buildings, you can add screen protectors or a thin sacrificial glass. When it becomes scratched or cloudy, you replace the protector instead of the whole device.
Protection by environment and risk level
Different sites need different protection levels:
| Environment | Main risks | Protection tips |
|---|---|---|
| Indoor office/apartment | Fingerprints, light knocks | Tempered glass, occasional cleaning |
| Lobby near entrance | Dirt, frequent use | Higher hardness glass, screen protector, more cleaning |
| Outdoor gate / street | Rain, dust, vandalism | IP-rated housing, sun/rain hood, vandal-proof front |
| Industrial / warehouse | Gloves, dust, impact | Thicker glass, resistive option or big physical keys |
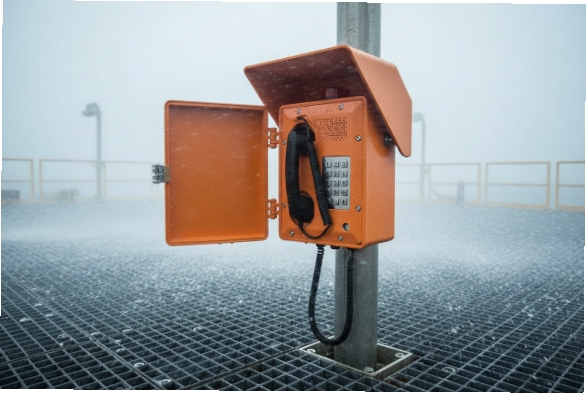
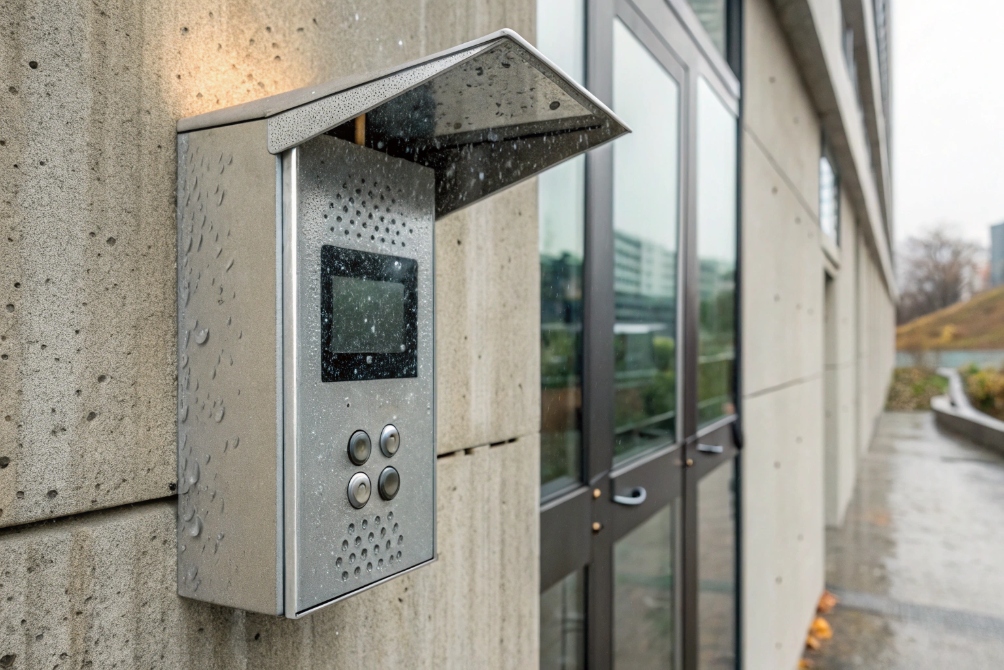
For outdoor or semi-outdoor touch intercoms:
- Use housings with the right Ingress Protection (IP) rating 7 and good sealing around the glass.
- Add a small hood to reduce rain on the surface and improve readability in sunlight.
- Combine the touch UI with a physical call button for emergencies.
Firmware and hardware features that help
Protection is not only mechanical. Good firmware also reduces problems:
- Water rejection algorithms help ignore raindrops, sweat, or light splashes.
- Proper palm rejection avoids false touches when someone leans on the frame.
- Idle timeouts and simple home screens reduce image retention and ghost outlines.
During commissioning, it helps to run a simple on-site test:
- Touch all corners and edges of the screen with bare hands and gloves.
- Splash a few drops of clean water and confirm the device does not go crazy.
- Lock the UI and clean the glass as staff would do daily.
If the screen behaves well during that test, it will usually perform well in daily use. When problems appear later, they are often due to new cleaning chemicals, damaged protectors, or mechanical impacts rather than the sensor itself.
Conclusion
A good touch screen makes your SIP intercom feel like a modern device: clear UI, right size, glove-aware, and easy to clean and protect in real buildings.
Footnotes
-
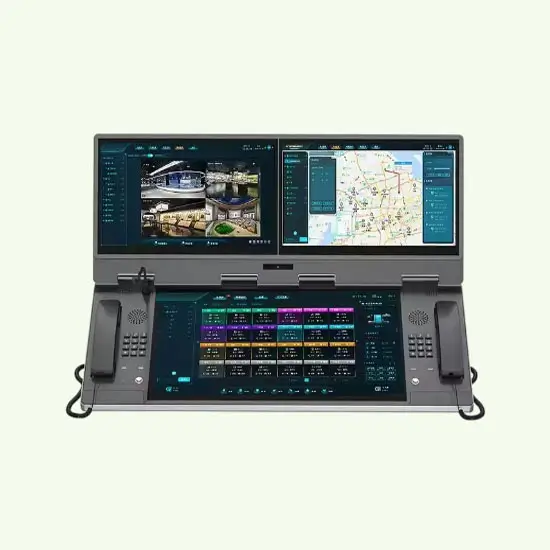
See a touch indoor-station example UI for modern intercom workflows and visual navigation. ↩︎ ↩
-
Quick technical overview of PCAP sensing and why it supports accurate, multi-touch gestures. ↩︎ ↩
-
Entrance-panel visual reference for how touch UI reduces confusion at doors. ↩︎ ↩
-
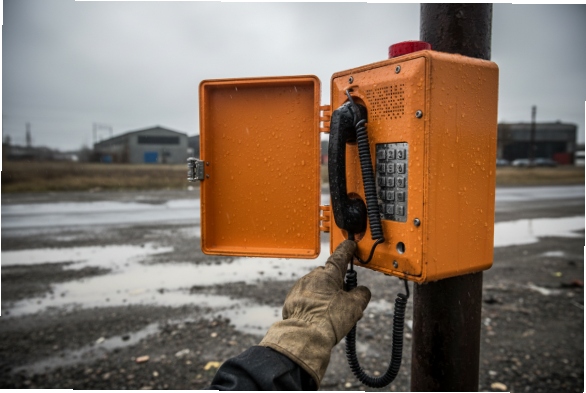
Outdoor glove-use illustration to set expectations for winter and industrial touch behavior. ↩︎ ↩
-
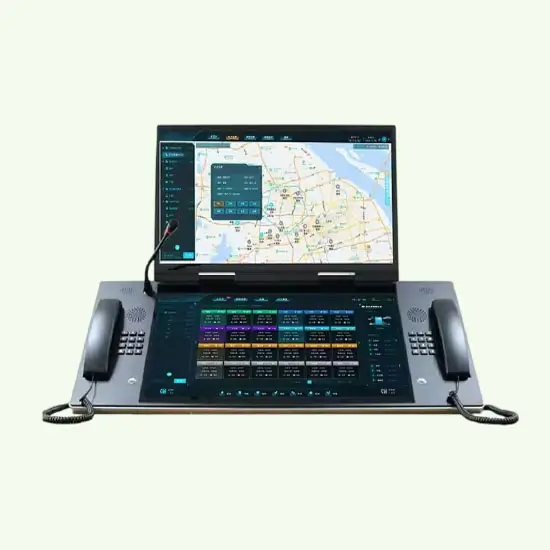
Lobby kiosk example for explaining why larger panels fit directories and multi-camera layouts. ↩︎ ↩
-
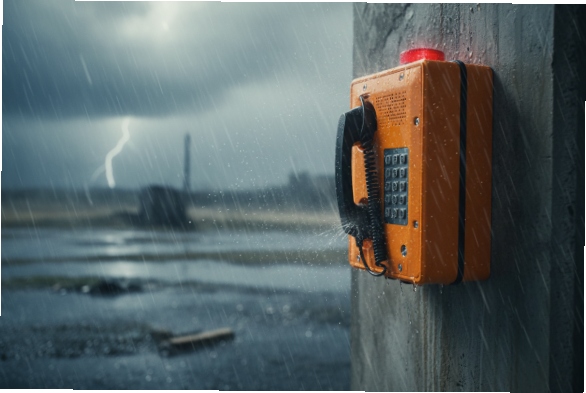
Outdoor protection example showing why hoods and sealing matter for touch reliability. ↩︎ ↩
-
Reference guide to IP codes so you can pick the right enclosure protection level for rain, dust, and exposure. ↩︎ ↩